Installation#
1. Setup locally#
Colosseum depends on both PyRep and RLBench to work correctly.
Please refer to their installation guides for more information. We repeat the
setup steps here for convenience. Notice that both PyRep and RLBench use
CoppeliaSim as simulator (former V-rep). Moreover, they use version 4.1,
which is an old one, and targets old versions of Ubuntu.
Note
Even though the version of CoppeliaSim targets an old version of Ubuntu, we have tested it on different OS versions and different OSs, and in most cases should work just fine.
Warning
If you want to use the baselines for RVT, or PerAct, you will have to install the RLBench fork from Mohit, as it contains some changes to the demonstrations and observation classes. Otherwise, your collected data won’t have these new fields that are used along the baselines code.
1.1. CoppeliaSim Setup#
Download the appropriate version of CoppeliaSim for your system (note that even though we don’t list the latest version of Ubuntu, this still should work just fine).
CoppeliaSim v4.1 URL |
|---|
Export the following environment variables in your .bashrc as follows. Note
that we’re enclosing it into a function to call from our terminal, as having it
directly in the .bashrc file might cause issues with other programs that use
Qt and similar libraries as CoppeliaSim.
setup_pyrep(){
   export COPPELIASIM_ROOT=/path/to/CoppeliaSim_Edu_V4_1_0_Ubuntu20_04
   export LD_LIBRARY_PATH=$LD_LIBRARY_PATH:$COPPELIASIM_ROOT
   export QT_QPA_PLATFORM_PLUGIN_PATH=$COPPELIASIM_ROOT
}
Remember to source and call the setup_pyrep function when you’re about
to use CoppeliaSim and related packages.
1.2. Setup PyRep#
Once you have source your .bashrc file, and called the setup_pyrep
function, you’re ready to install PyRep. We recommend using a separate virtual
environment in which we’ll install also RLBench and other packages. Also, in
the following lines we assume you have a separate folder called WORKSPACE,
where you’ll be able to download and manage all relatedd packages.
$ cd $WORKSPACE
# Create a virtual environment
$ virtualenv venv
$ . venv/bin/activate
# Clone the PyRep repository and install the package
(venv) $ git clone https://github.com/stepjam/PyRep.git pyrep && cd pyrep
(venv) $ pip install -r requirements.txt
(venv) $ pip install .
# Go back to our workspace, and test that PyRep is working correctly
(venv) $ cd $WORKSPACE
(venv) $ setup_pyrep # Call this function you added to your .bashrc
(venv) $ python pyrep/examples/example_youbot_navigation.py
After the setup is complete, you should see the following simulation by using
one of the provided samples in PyRep (pyrep/examples/example_youbot_navigation.py)

1.3. Setup RLBench#
Once you have PyRep installed, we can proceed to install RLBench. Note
that we’re not using the latest version, as it currently is incompatible with
our repo.
Warning
Recall that if you want to use the baselines, you’ll have to use the fork from Mohit for the collected demos to be usable with these baselines.
$ cd $WORKSPACE
$ . venv/bin/activate
(venv) $ git clone https://github.com/stepjam/RLBench.git rlbench && cd rlbench
# Use an old version of RLBench to avoid incompatibilities
(venv) $ git checkout 7c3f425f4a0b6b5ce001ba7246354eb3c70555be
(venv) $ pip install -r requirements.txt
(venv) $ pip install .
(venv) $ cd $WORKSPACE
(venv) $ setup_pyrep # Call this function you added to your .bashrc
(venv) $ python rlbench/examples/imitation_learning.py
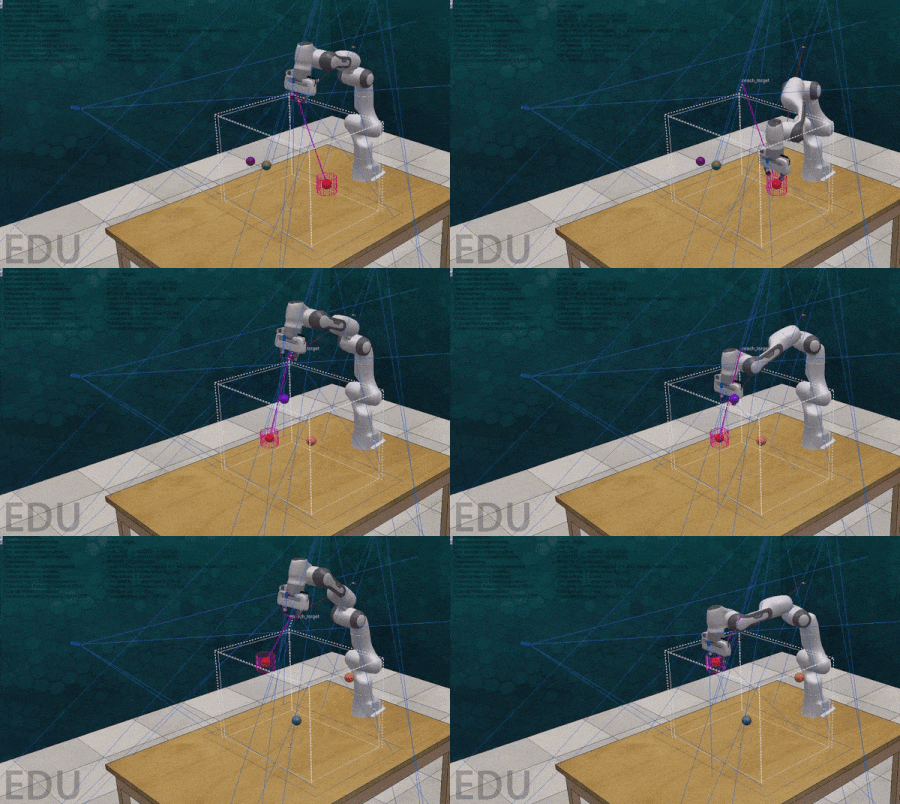
After the setup is complete, you should see the following simulation by using
one of the provided samples in RLBench (rlbench/examples/imitation_learning.py)
1.4. Setup our Repo#
Finally, we can download our repo and configure it. Just follow the following steps and you should be good to go:
$ cd $WORKSPACE
$ . venv/bin/activate
(venv) $ git clone https://github.com/robot-colosseum/robot-colosseum.git && cd robot-colosseum
(venv) $ pip install -r requirements.txt
(venv) $ pip install -e . # Install in developer mode
Warning
The current setup we have in our repo only allows to change the config files and update them if using developer mode, so for the moment please stick to developer mode until we have a fix for the assets managment
Once you’re done with the installation, you can check that everything is working by using the example visualizer:
(venv) $ cd $WORKSPACE/robot-colosseum
(venv) $ python -m colosseum.tools.visualize_task --config-name hockey

2. Setup using Docker#
We provide a set of Dockerfiles that can be used to build images that have
everything ready for collecting demos.
Dockerfile_mesa: Used for collecting demonstrations in headless mode, but without hardware acceleration. PyRep will default to use software rendering for this case. Build an image out of this file as follows:
$ cd $WORKSPACE/robot-colosseum
$ docker build -t colosseum:mesa -f Dockerfile_mesa .
Spawn a container using this image for data collection as follows:
$ docker run -e DISPLAY -v $HOME/.Xauthority:/home/randuser/.Xauthority \
  --net=host -it --rm colosseum:mesa bash
Once the container is running, refer to the quickstart section for info on how to collect data and visualize tasks.
Dockerfile_nvidia: Used for collecting demonstrations in headless mode, but with hardware acceleration. To allow to build using GPU support, you need to have the NVIDIA Container Toolkit PyRep will default to use hardware rendering for this case. Build an image out of this file as follows:
$ cd $WORKSPACE/robot-colosseum
$ docker build -t colosseum:nvidia -f Dockerfile_nvidia .
Spawn a container using this image for data collection as follows:
docker run --runtime=nvidia --gpus all -e DISPLAY -it --rm \
  -v $HOME/.Xauthority:/home/randuser/.Xauthority \
  -v /tmp/.X11-unix:/tmp/.X11-unix --net=host colosseum:nvidia bash